The nail industry is constantly changing. Nail extensions and fabulous art nails have left many in a quandary of which one to choose. Modern nail art and glitter acrylics leave you speechless. You don’t need to be alone. These are some of the most important tips for how to care for your nails.
Acrylic nails and nail art are becoming more popular. They promote natural nails, strengthen nails, and encourage nail care. The builder gel has gained popularity in the nail industry. It allows saloon technicians strengthen their clients’ natural nails, while giving them a beautiful look that allows them to grow steadily.
What’s a Builder Gel?
Builder Gel is a cross-like mixture of hard gel and acrylic. Builder gel provides a solid foundation for nail strength, thickness, and length. It can also be used to enhance and extend nails. Gel builder can be used on natural nails or pro gel tips to create a durable overlay that will last for a long time. Gel builders are usually complete. They include primer and base, and therefore do not need additional products.
The Benefits of Builder Gel
- As a treatment for chipped or damaged nails, builders gel can be used.
- It is easy to access the Builder Gel.
- The brush comes already with the product, so there’s no need to purchase another.
- You can apply a base layer and then use the builder gel to create an overlay layer.
- Builder gel allows natural nails to grow and strengthen.
- The builder gel can be used to fill in your pro gel tips.
- Apply the gel by using dip and dap techniques
- You can easily clean the gel builder by simply soaking it in water.
These are the Steps to Follow When Applying Builder Gel
Step 1: Prepare your Nail
Step 2: Decide where you want to apply your Builder Gel
The natural nail bed will help you decide where to apply the builder gel. It is important to prepare a nail shape before applying a builder gel. Gel polish can be used to apply the gel builder gel to your natural nails.
This gives your nails a shiny finish and helps to build a base for nail art. You can also choose to apply the builder gel completely using pro gel tips or make an extension. By using different colors for the top and base, you can give your nails a two-toned look.
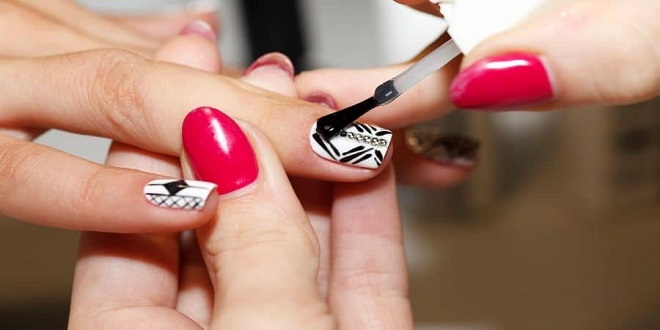
Step 3: Apply The Builder Gel
This is the third step, as this is where you apply your nail art with the builder gel. You should note that the builder gel is slightly thinner than a sculpture gel so you might want to use several layers. You can achieve the desired look and design with only one layer. You should apply the first layer of builder gel until you reach the end of your nail.
When you have reached the tip of the nail’s size, move the brush in crescent fashion. Before you proceed, give your nail time to cure. The second layer should be the same shape as the first.
Step 4: Form and File
Step 5 – Use a Top Coat
Wrapping up
You can give your nails a stunning look by applying builder gel. This will also boost the strength and growth of your nails. You can apply the gel yourself or have a professional nail technician help you.